Scented candles aren't just decorative; they're effective relaxation tools after a long day. Proper care is crucial for maximizing fragrance and lifespan. Let's uncover the secrets to nurturing your candles for optimal performance.
I. Pre-Burn Preparation:
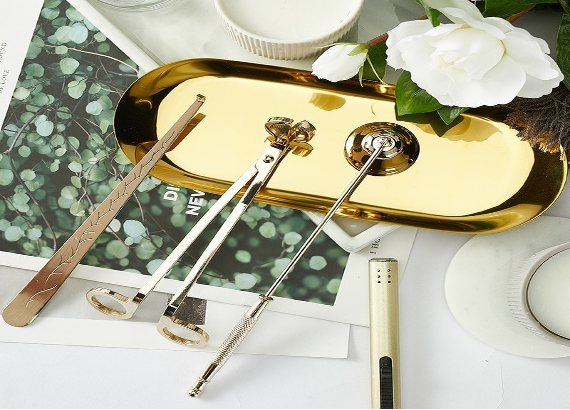
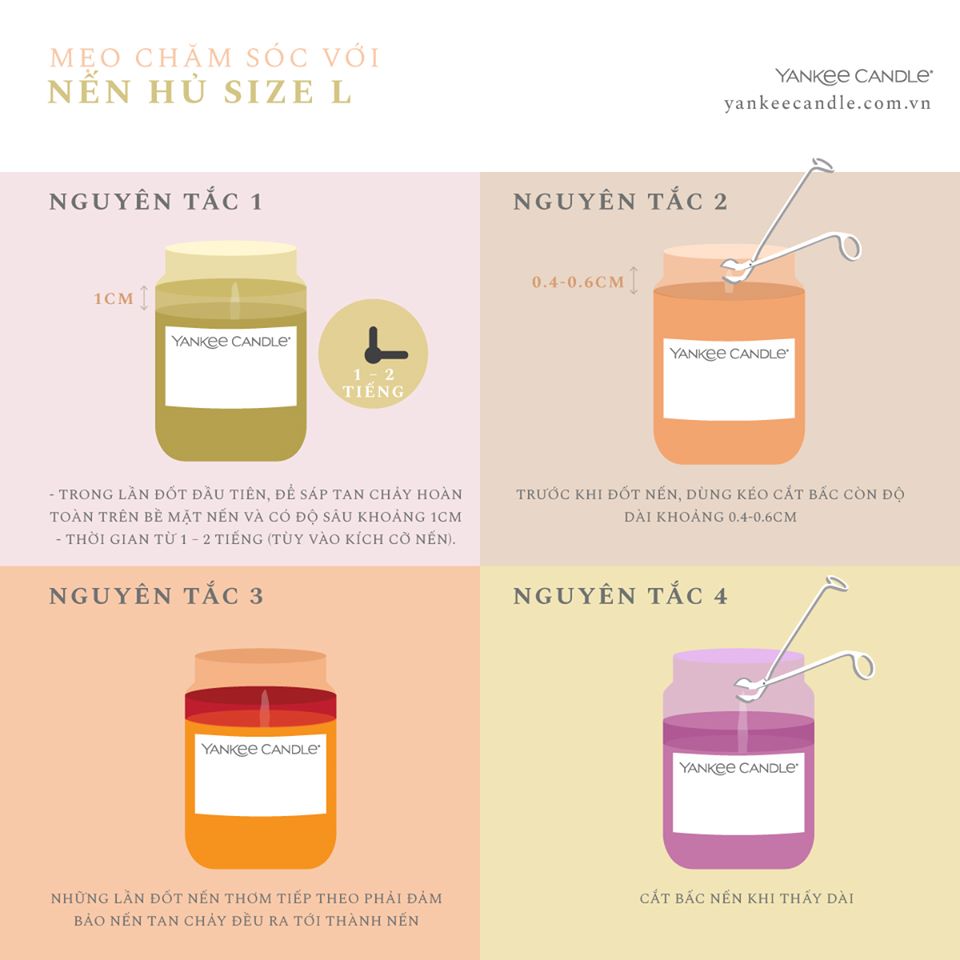
Wick Trimming: Before each use, trim the wick to approximately 0.4 - 0.6 cm. An excessively long wick can cause uneven burning, soot, or dripping. Use specialized wick trimmers for precision.
Surface Cleaning: Remove any dust, debris, wick remnants, or used matches from the wax surface. A clean surface promotes even and safe burning.
Candle Placement: Place the candle on a stable, heat-resistant surface away from flammable materials. Ensure adequate ventilation for fragrance diffusion without stuffiness.
II. Candle Burning Procedure:
First Burn: This is the most crucial step! Burn the candle until the entire surface melts evenly, forming a "melt pool" approximately 1 cm deep. This takes about 1-2 hours depending on the candle's size. This ensures even burning and prevents "tunneling" in subsequent burns.
Subsequent Burns: Ensure the wax melts evenly to the edges of the container each time. This maximizes fragrance throw and wax usage. Avoid burning for more than 4 hours at a time.
Extinguishing the Candle: Use a candle snuffer or lid to extinguish the flame. Never use water, as this can cause hot wax to splatter and the container to crack. Ensure the wick is completely extinguished before leaving the room.
There are two highly effective methods for burning candles:
1. Burning with a Flame:
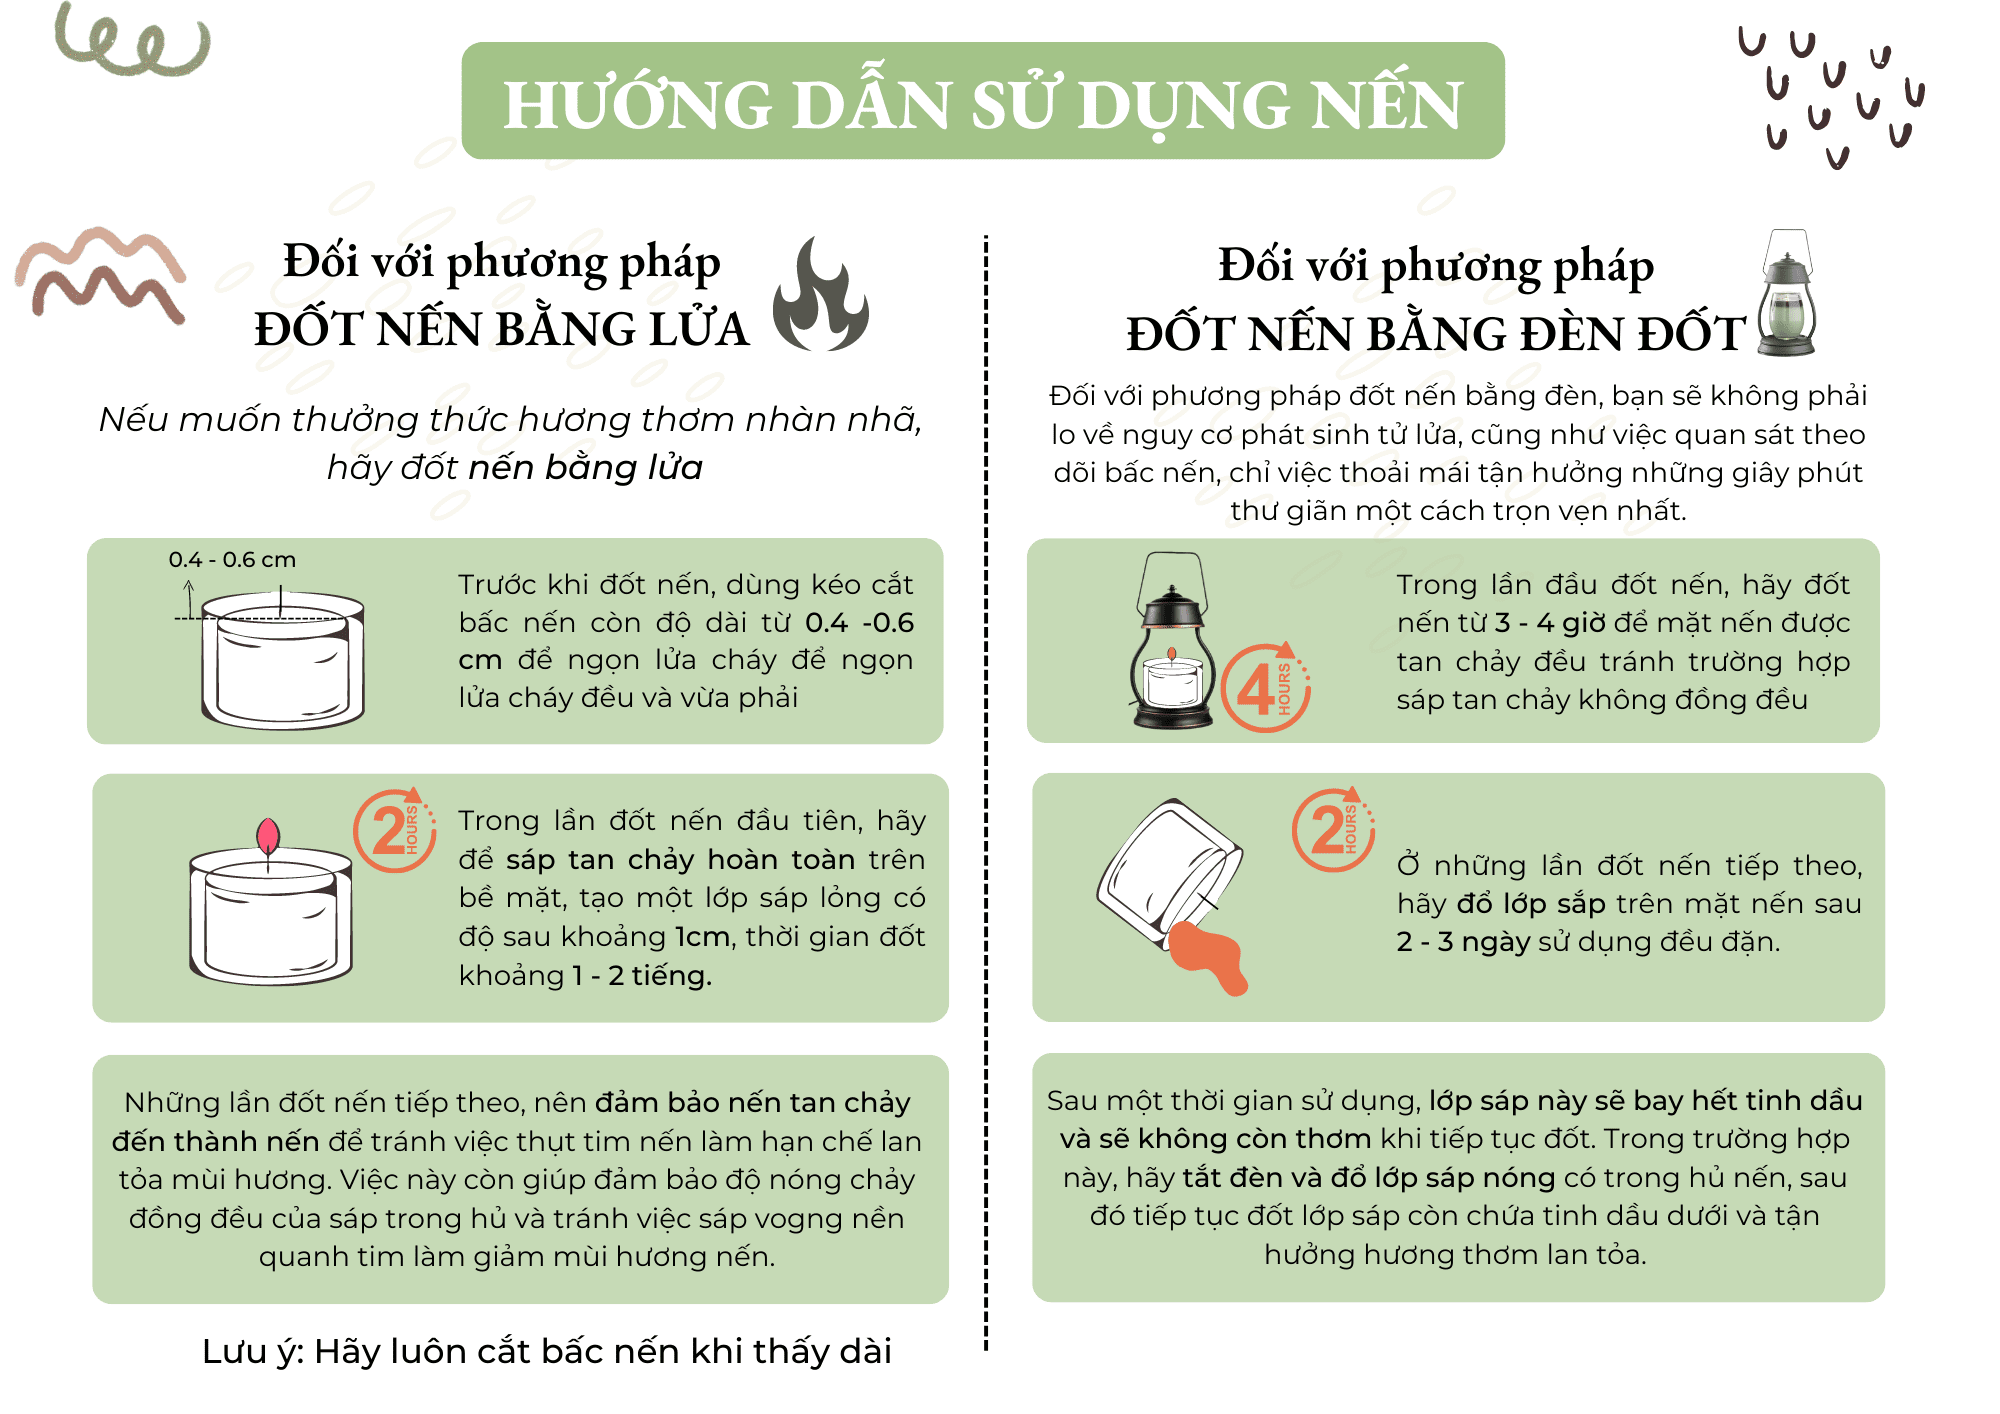
Initial Burn: Allow the wax to melt completely across the surface, creating a liquid layer about 1 cm deep. This takes approximately 1-2 hours for sizes S & M, and 3-4 hours for size L.
Maintaining the Flame: For an even and moderate flame, use wick trimmers to maintain a wick length of 0.4 - 0.6 cm.
Fragrance Diffusion: To maximize fragrance throw, ensure even melting of the wax during burning (avoid tunneling or wick drowning).
Feng Shui Benefit: Burning with a flame is believed to generate positive energy in feng shui.
Suited For: Those who have time to enjoy the fragrance experience.
Fixing Tunneling/Drowning: To remedy tunneling or wick drowning, use a hairdryer, microwave, or candle warmer for 10-20 minutes to melt the surface. Allow to cool and trim the wick if necessary.
2. Burning with a Candle Warmer/Lamp:
Benefits: Using a candle warmer diffuses the fragrance intensely while minimizing wax consumption.
Initial Warming: For the first use, warm until the wax melts completely across the surface, creating a liquid layer about 1 cm deep. This takes approximately 30 minutes - 1 hour for sizes S & M, and 1-2 hours for size L.
Wax Removal: Every 3-4 uses, pour off some of the melted wax to enhance fragrance throw.
Advantages: Quick fragrance diffusion, safety, and strong scent throw.
Suited For: Those who need rapid fragrance diffusion.
III. Candle Storage:
Avoid Direct Sunlight: Store candles in a cool, dry place away from direct sunlight and high temperatures. Sunlight can alter the color and fragrance of the candle.
Rotate Fragrances: If you use the same scent for extended periods, your sense of smell can become accustomed to it. Rotate different fragrances to fully appreciate their variety and freshness.
Consider a Candle Warmer (Optional): Candle warmers melt wax with indirect heat, preserving fragrance longer and preventing tunneling.
IV. Additional Tips:
If the candle surface tunnels, use a candle warmer or microwave (heat for approximately 2 minutes) to melt the wax and create an even surface.
Don't burn the candle all the way down. Leave about 1.5 cm of wax at the bottom for safety.
Proper candle care not only extends their lifespan but also allows you to fully enjoy their relaxing fragrance and create a warm, inviting atmosphere. Hopefully, these tips will help you cherish your scented candles!